Something happened this morning that made me think of my mother. Whenever she was really busy and working hard (which was almost always) she’d say ‘Untie this pair of hands from behind my back so I can do two things at the same time ‘ . I was in the studio trying to finish off some felt pictures for a gorgeous gallery (Y Galeri, Caerphilly) that had asked to display my work. Two lovely ladies came in to chat and buy felting supplies. My heart sank because although I’d got the wool tops in I hadn’t done anything with pricing. The lady was really understanding, left an order and is coming back next week.
I just have so much to do !!! At the moment Sfelt really is still in it’s infancy but it’s going to have to grow up quickly because I’ve got August 1st 2013 as it’s official launch (no matter what day that is). I know that doesn’t give me much time but I really want to be up and running. Having so much to do could be overwhelming but I’ve taken a leaf out of my super organised sisters book and started making to do lists, lots of to do lists. Doing this made me realise quite how far I’ve come already.
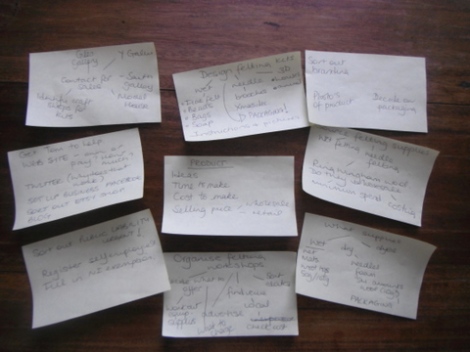
Up until recently (literally the last couple of weeks) I still had to:
organise felting workshops and let people know about them
source wholesale felting supplies for use and for resale
design and package felting kits
make product
photograph product
sort insurance/finance/tax,
build a website
build a brand
build sales
be a wife, be a mother, be a daughter, be a sister, be a friend, be a housewife, shop, eat, sleep
Where am I today?
Thinking about organising workshops gave me some sleepless nights but, now that I’ve got the studio, the venue and when I can run the workshops are no problem. Just today two ladies from the local WI and two craftaholic sisters came into the studio to ask if I was going to be doing any.
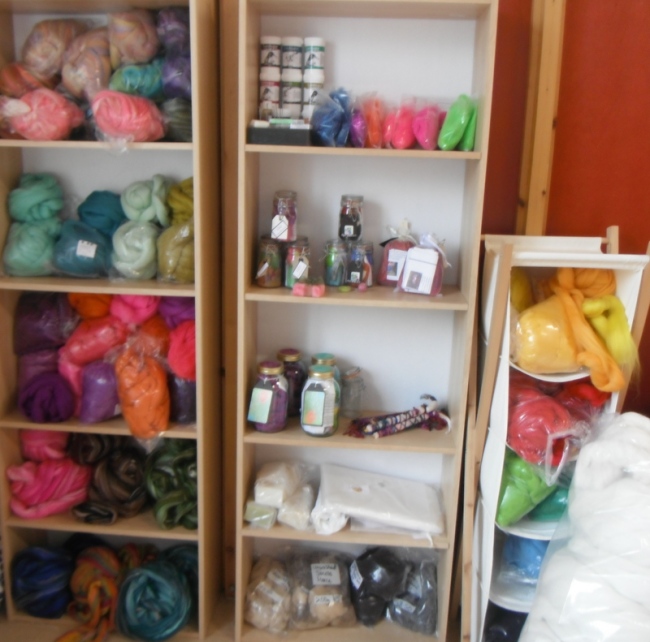
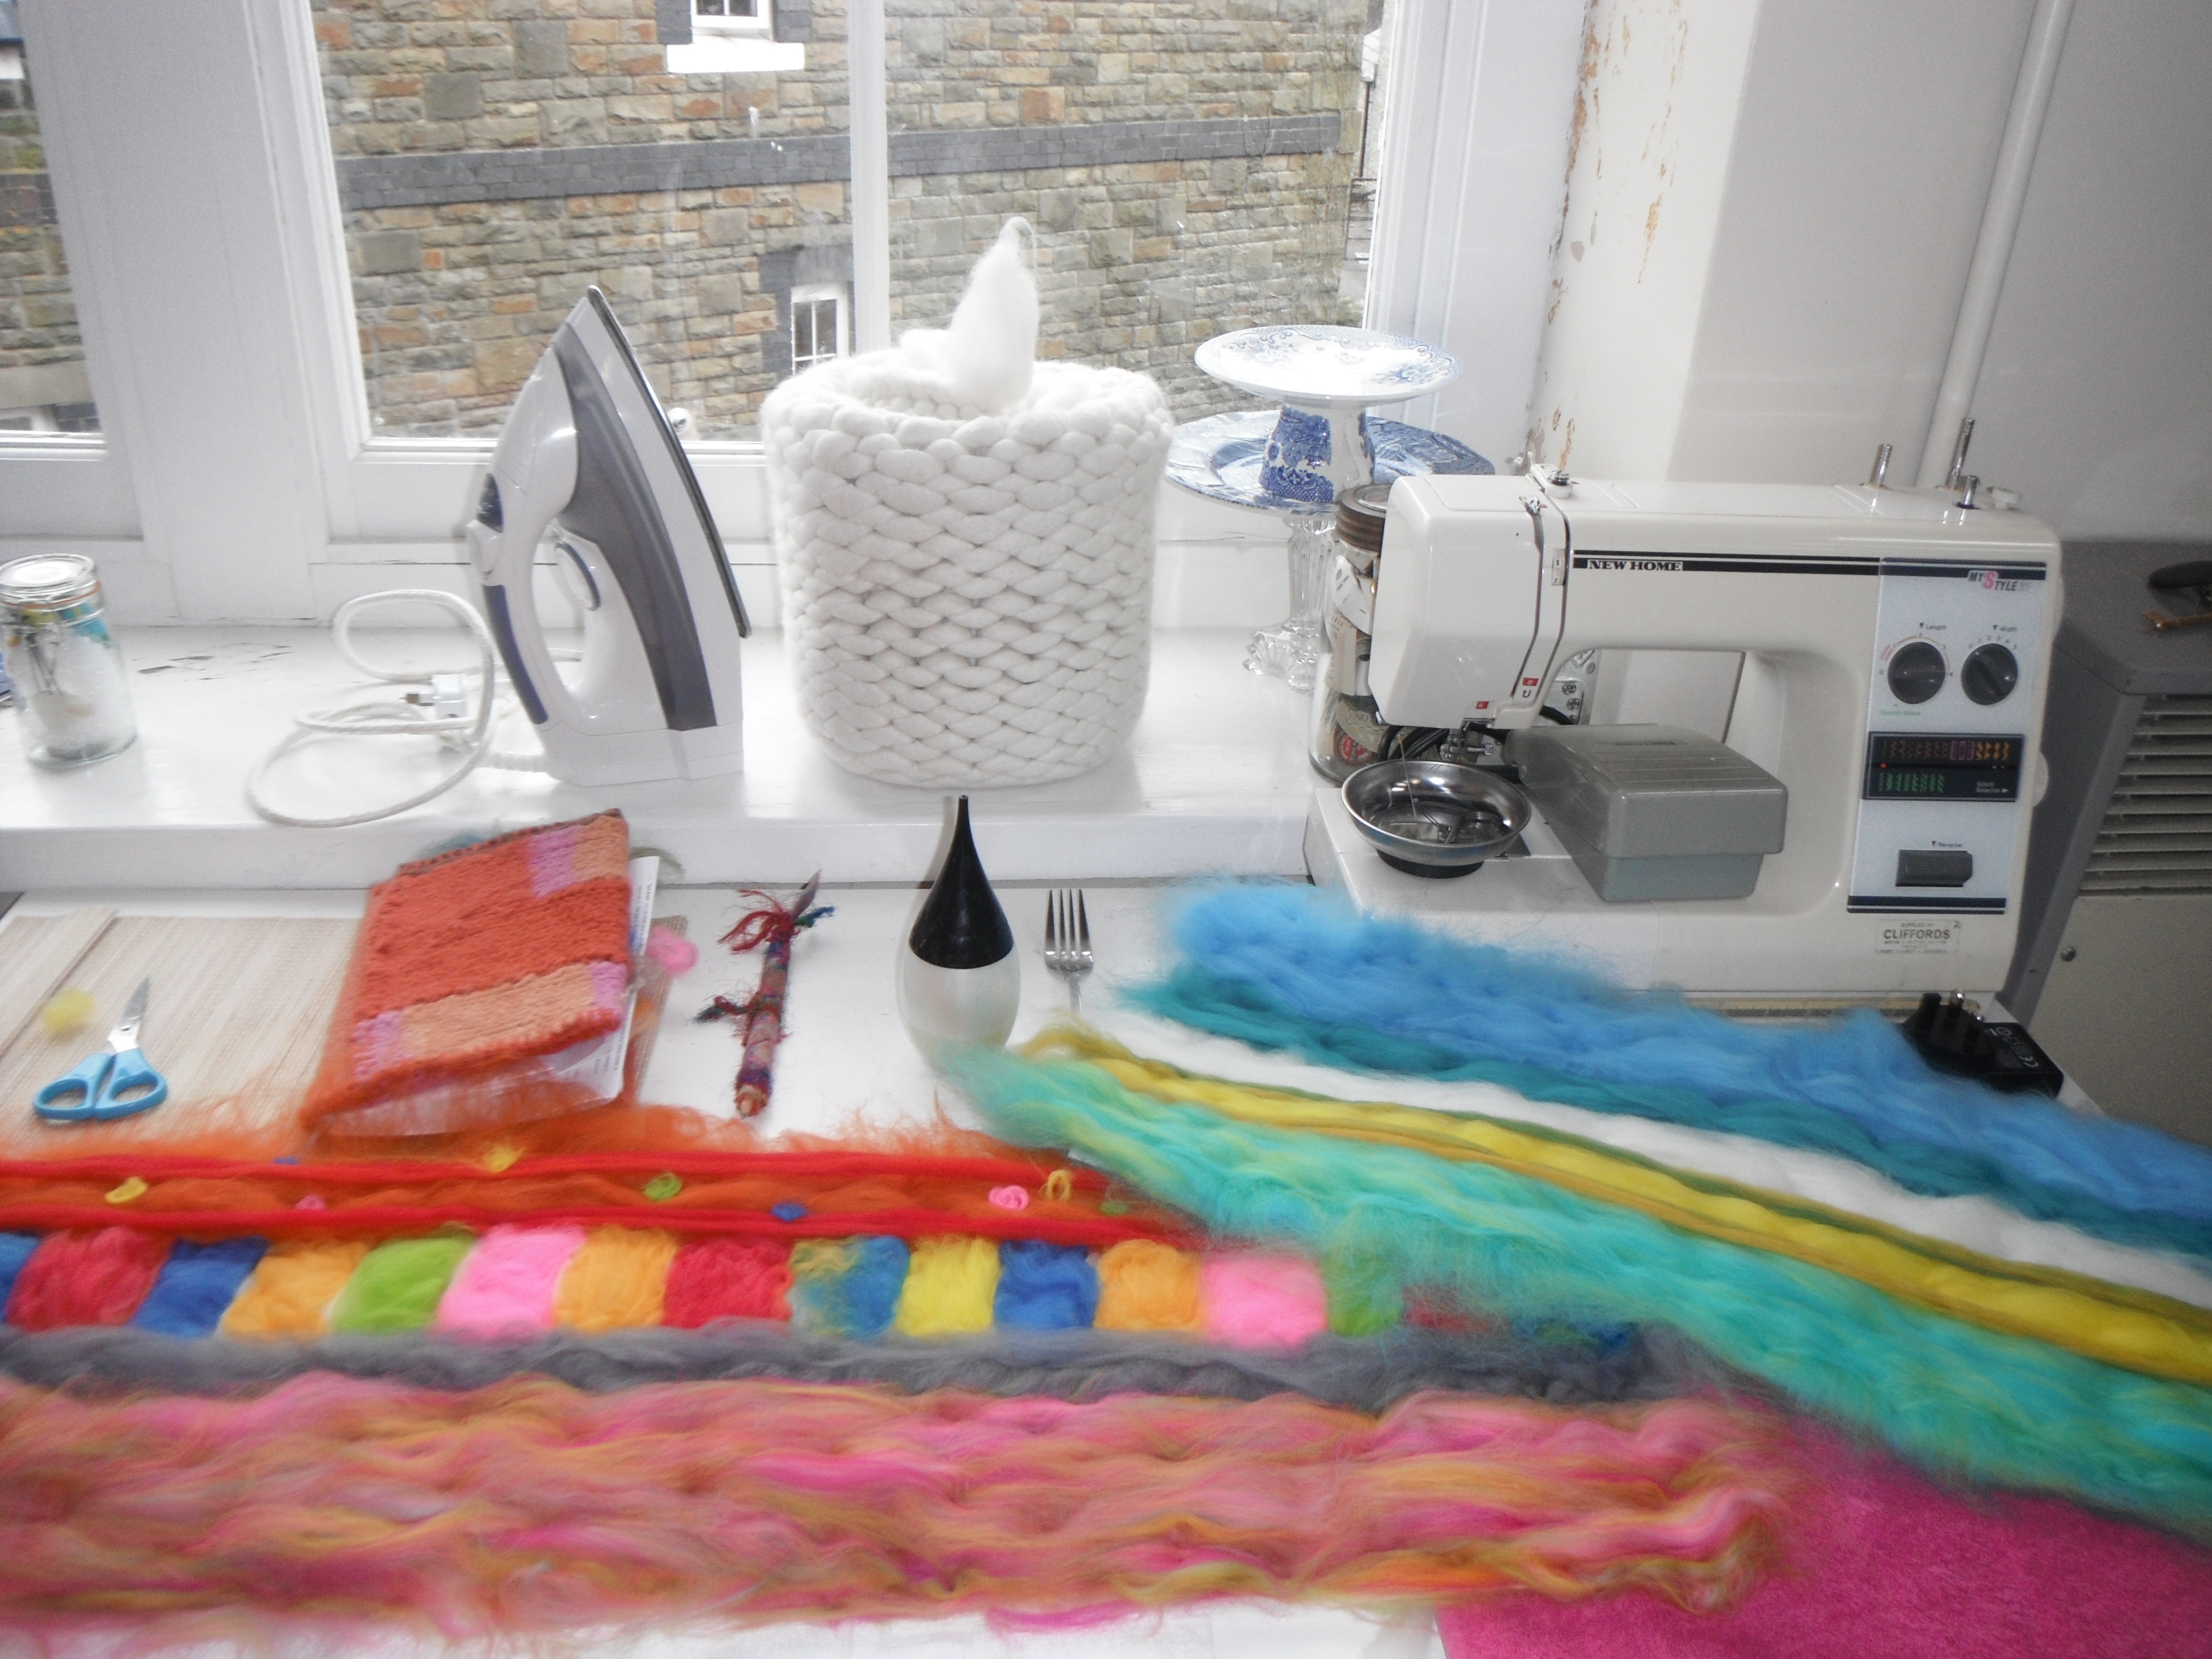
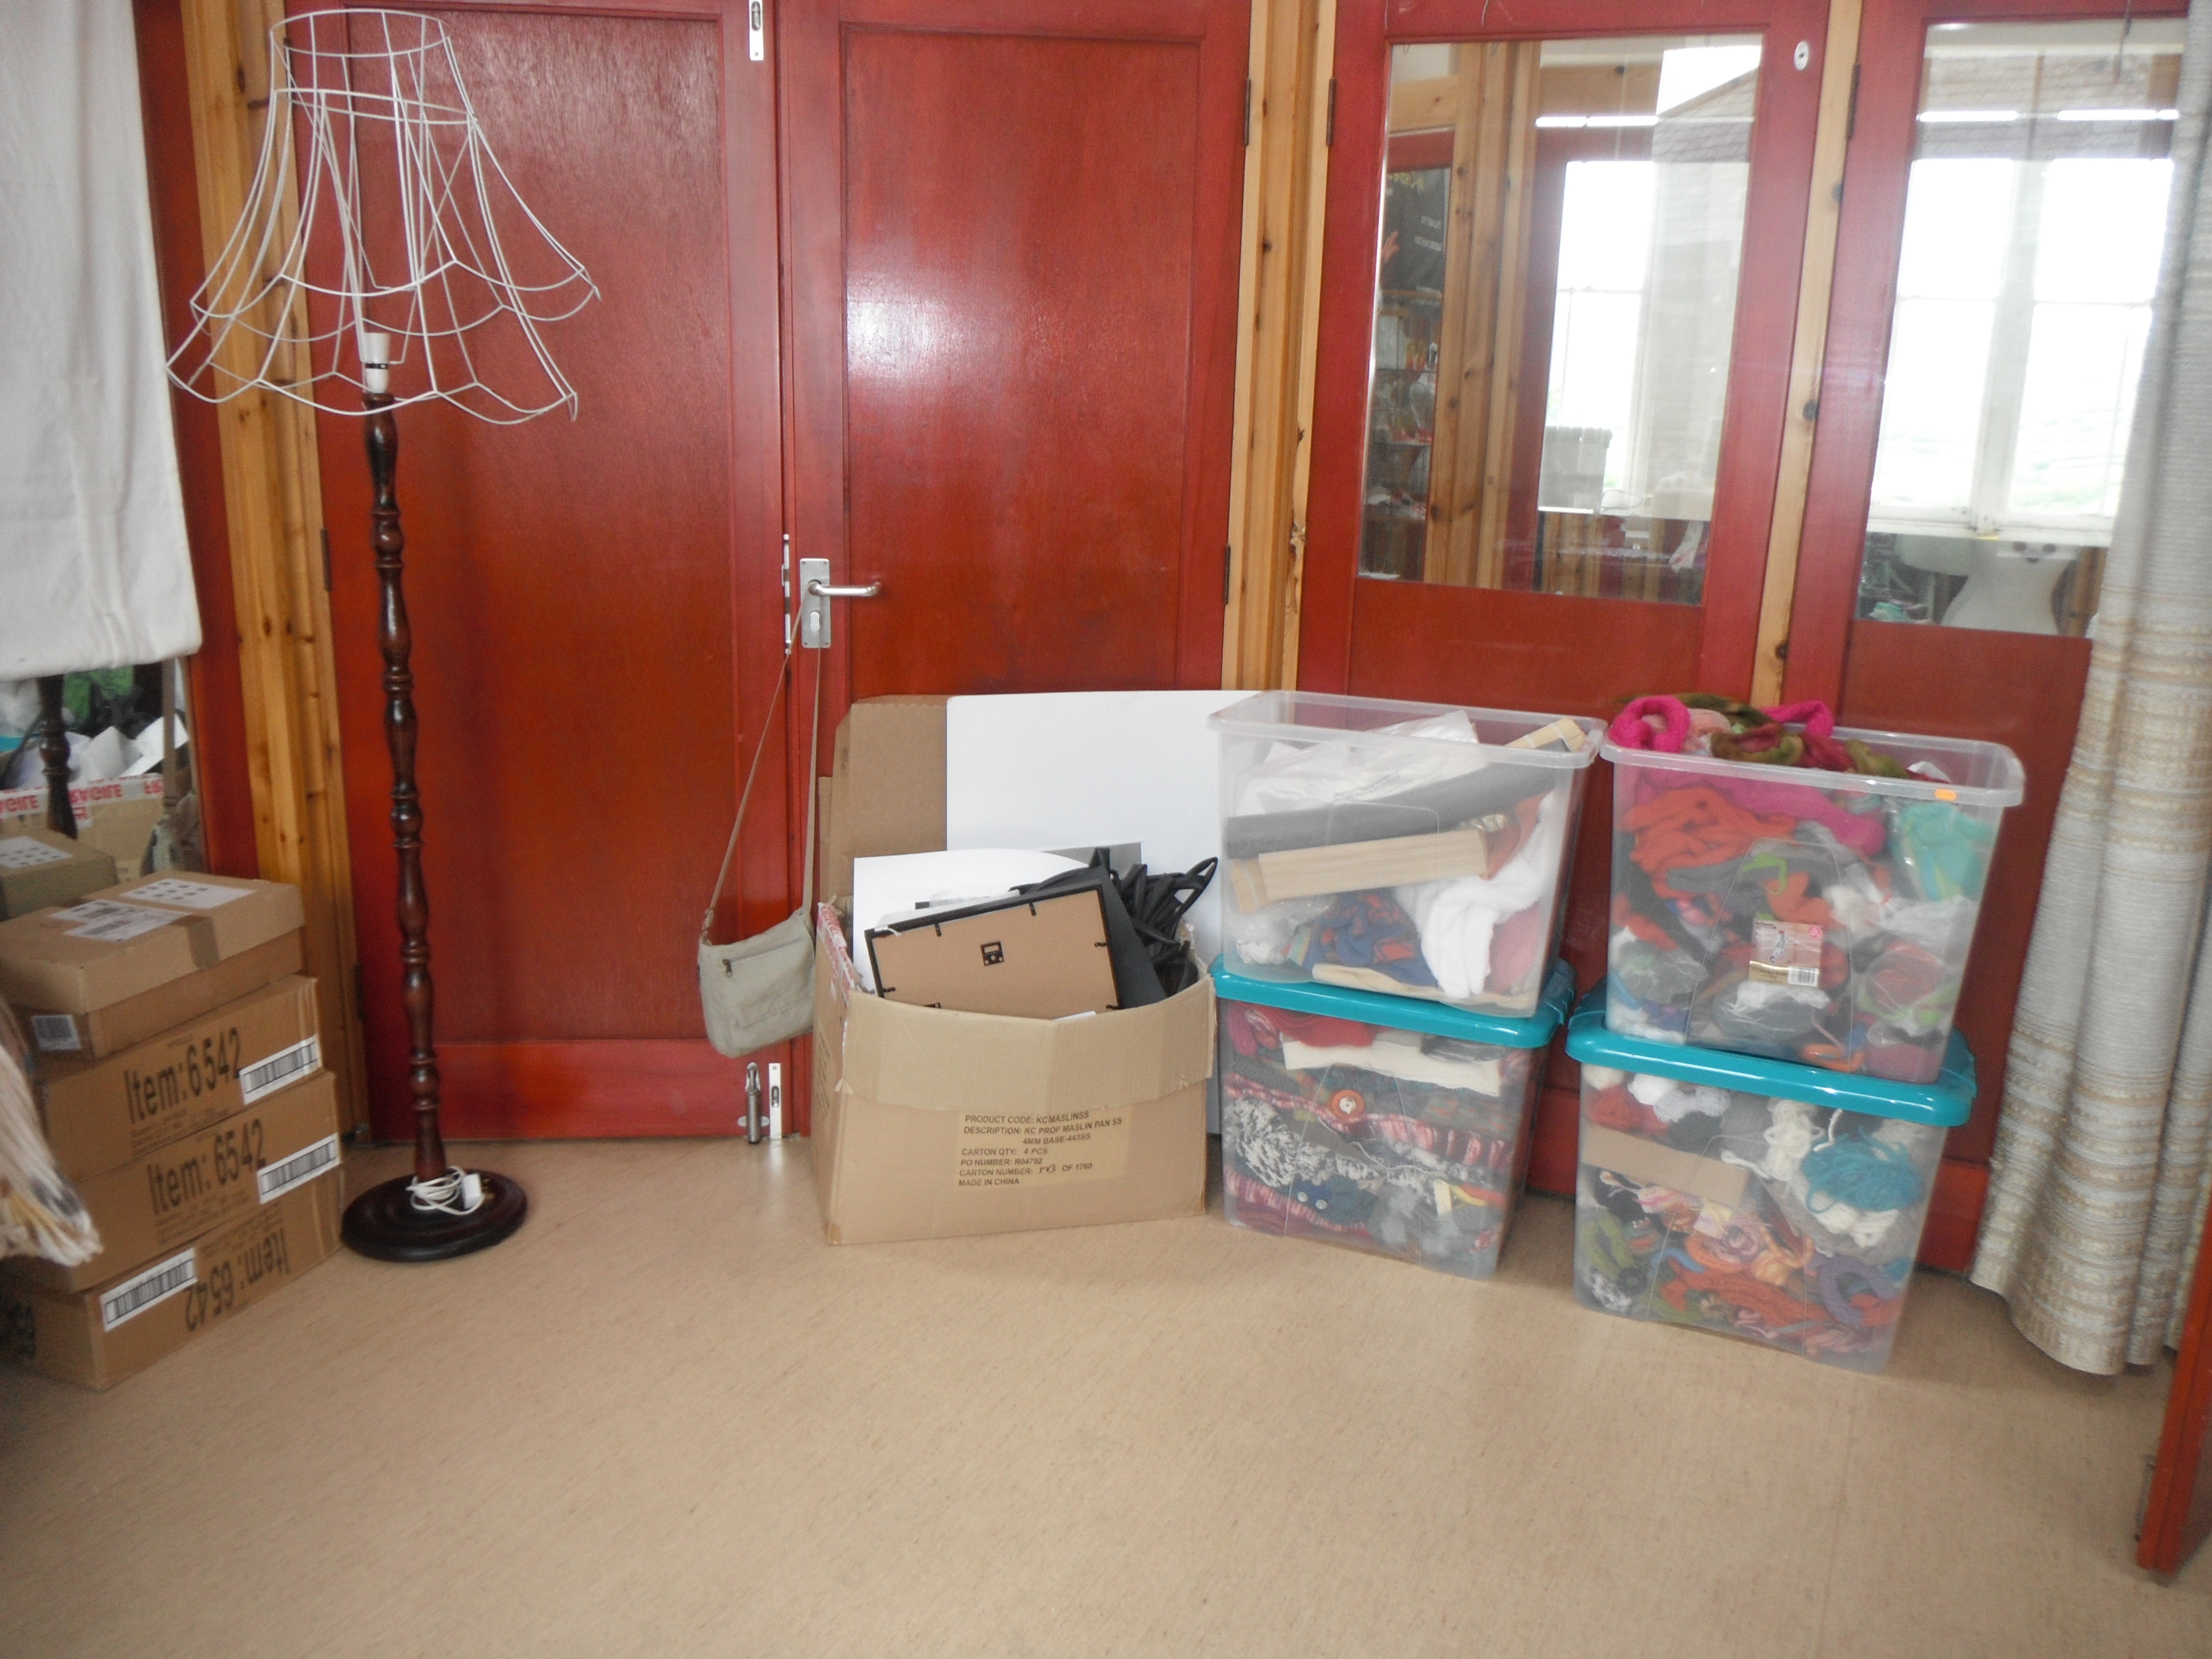
I’ve got a fabulous wool supplier, the wool is beautifully soft and there’s a really wide range of gorgeous colours so I’ve bought in a good amount of stock just haven’t priced it. (kicks self) I’ve also started stocking up on felting equipment.
I’ve designed felting kits and written all the instructions.

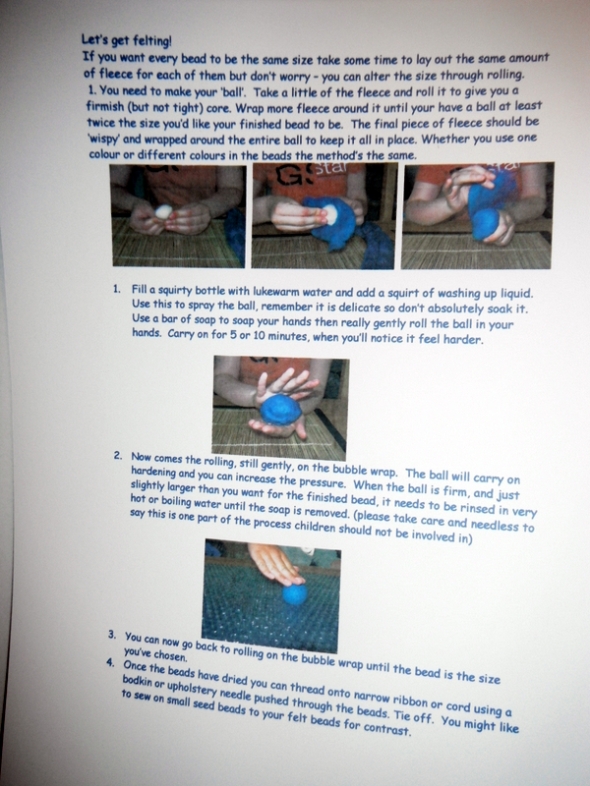
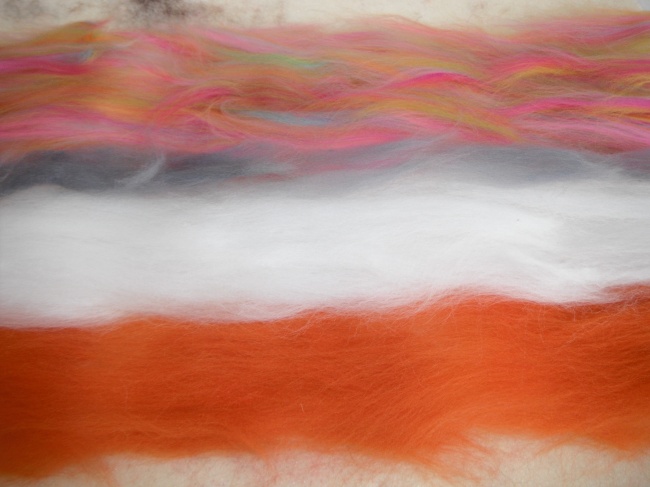
the hold up here is going to be the photographs for the packaging and the instruction sheets. I’m just not good enough so there’s something I’ve got to learn more about. I really think product photography could make or break the business…..I’ve put so much care and effort has gone into making my items I really can’t let it down with poor photographs. People who buy from shops can see and feel the product but I also plan to sell online where photographs are all they’ve got to judge an item by.
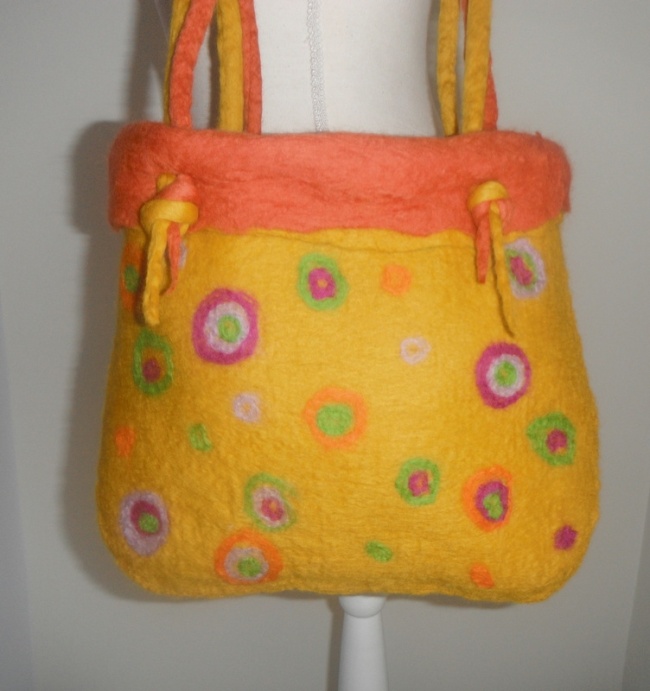
I’ve been making product like crazy so now I’ve got to finalising the range I want to offer.
My Felted Bags
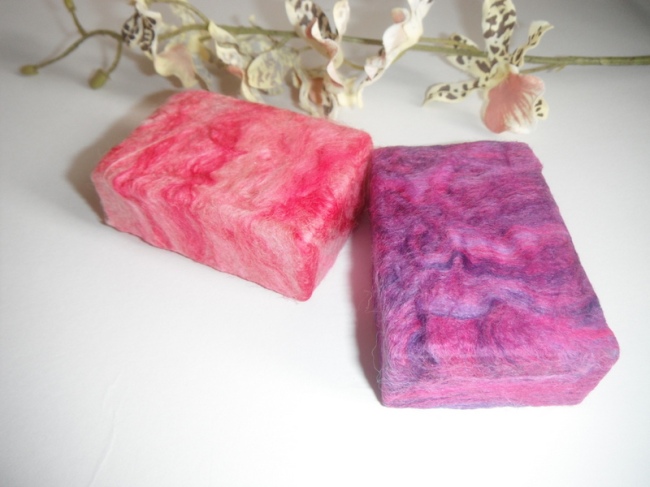
My Felted Soap
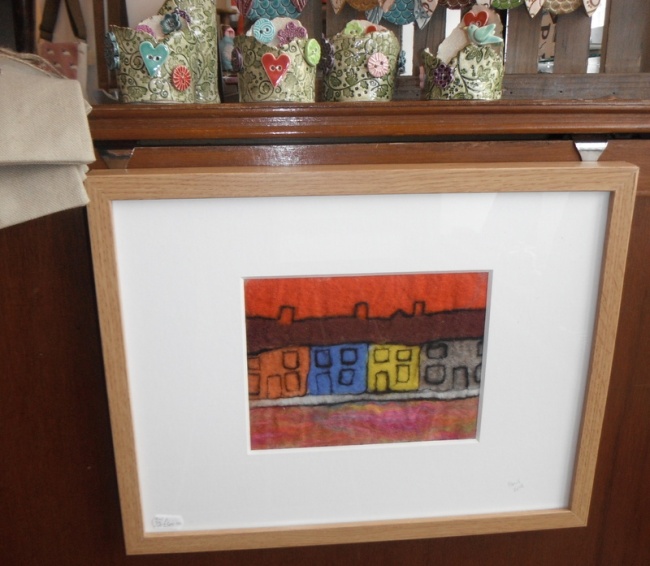
My Felt Pictures
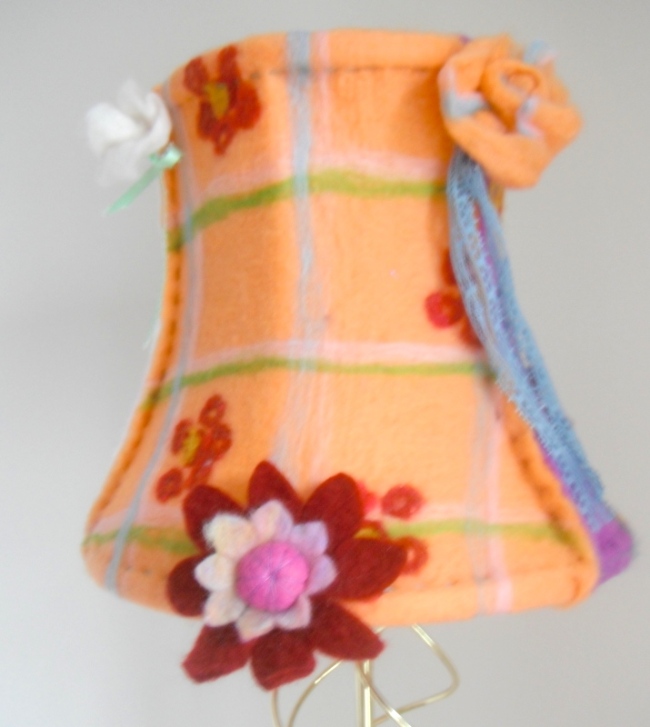
My Lampshades
Then there’s photography again, as you can see, not good.
Need to get liability insurance……
Then there are the biggies, do I try to build a website myself or do I invest in a professional one, build a brand, build sales.
I’m really happy with my business name so thanks to my son Tom for the suggestion so next it’s a logo and business cards then comes the big one, a website. If I can fine the money to invest I think a professionally built one will be the way to go.
If I haven’t bored you to tears by now and you stuck with this to the end you’re bang up to date with where Sfelt is at this point in time. What do you think the chances are of me being ready for the launch? I’ll keep you updated.
Another one of my mother’s sayings was ‘the proof of the pudding is in the eating’ so let’s hope we are eating pudding, and not humble pie, on August 1st. See you soon.


